Blog ·
Walkthrough: making a Page
This is the whole thing, screen by screen. It takes about twenty seconds, and the sign-in only shows up at the end.
1. Pick your address
Everything starts at pages.bearlog.app/app. One field, and the field is the product: the address people will type, tap or scan to get to you.
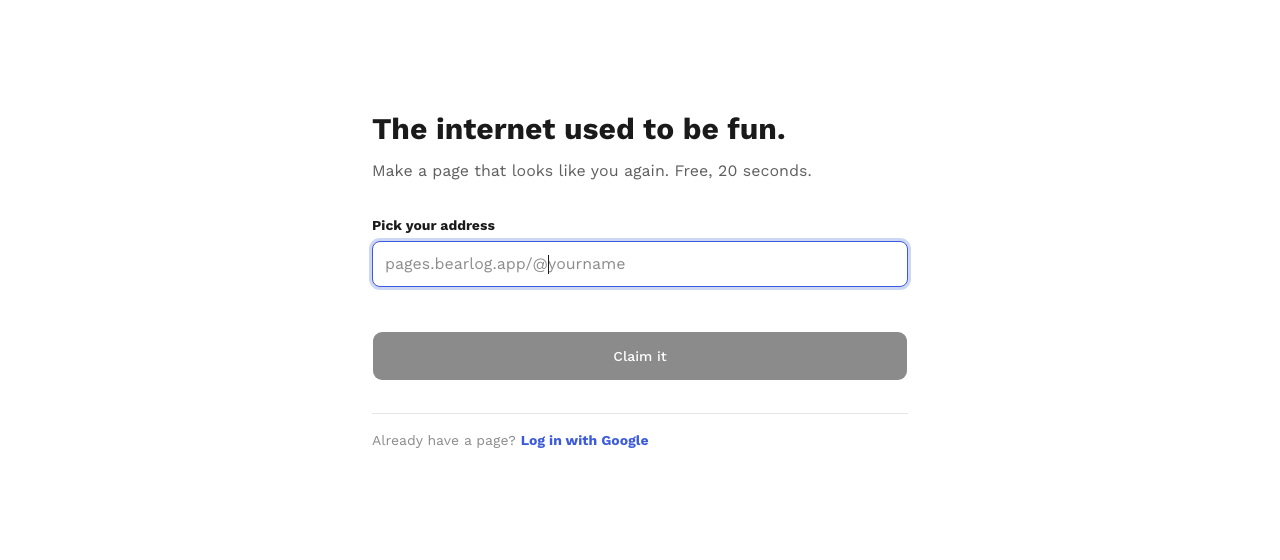
The claim screen. Nothing to fill in but the handle.
2. Check it reads right
Type a handle and it is checked while you type. Free handles come back Yours. and the button goes live; taken ones say so before you have invested anything in them.
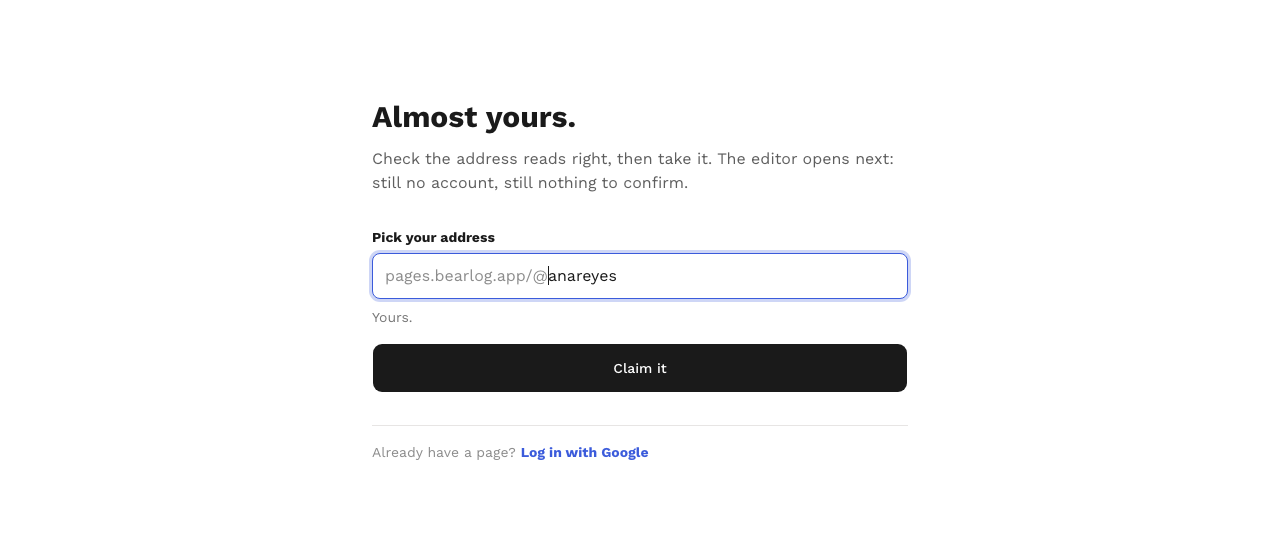
Handles are first come, first served, so the short ones go early.
3. The editor opens
No account yet, nothing to confirm, no email. The editor is two halves: what you are on the left, what everyone else sees on the right, updating as you type.
Fill in your name, what you do, and a line about yourself. Add your links — each one picks up its own little logo, so a visitor scanning the page finds Instagram by shape rather than by reading.
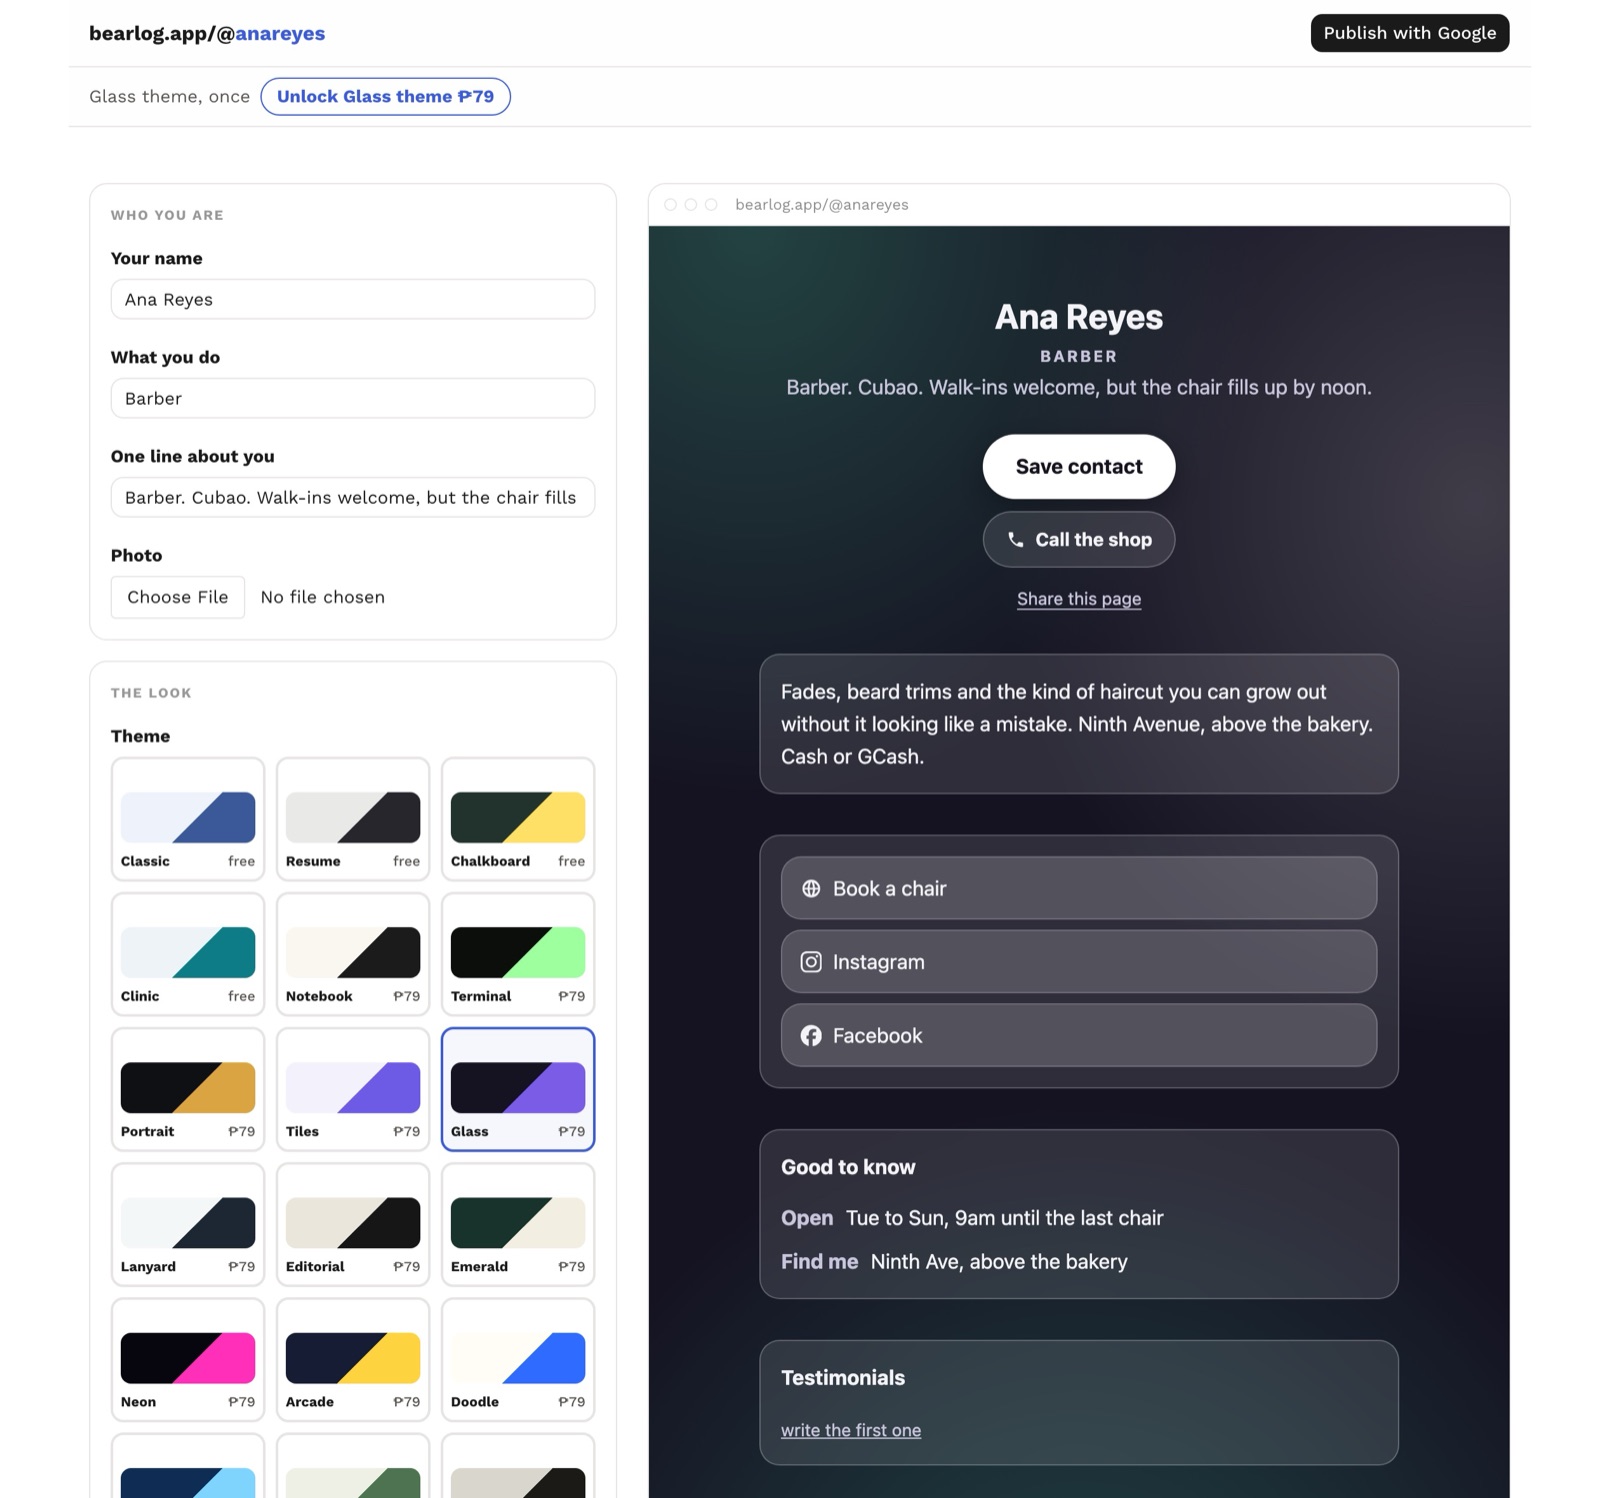
The address sits top left the whole time, and Publish top right.
4. Pick a look
Themes are a row of tiles: Classic, Resume, Chalkboard and Clinic are free, with the paid ones priced on the tile itself. Tap one and the whole page changes, including the preview. You can try every one before deciding, and change it again next week.
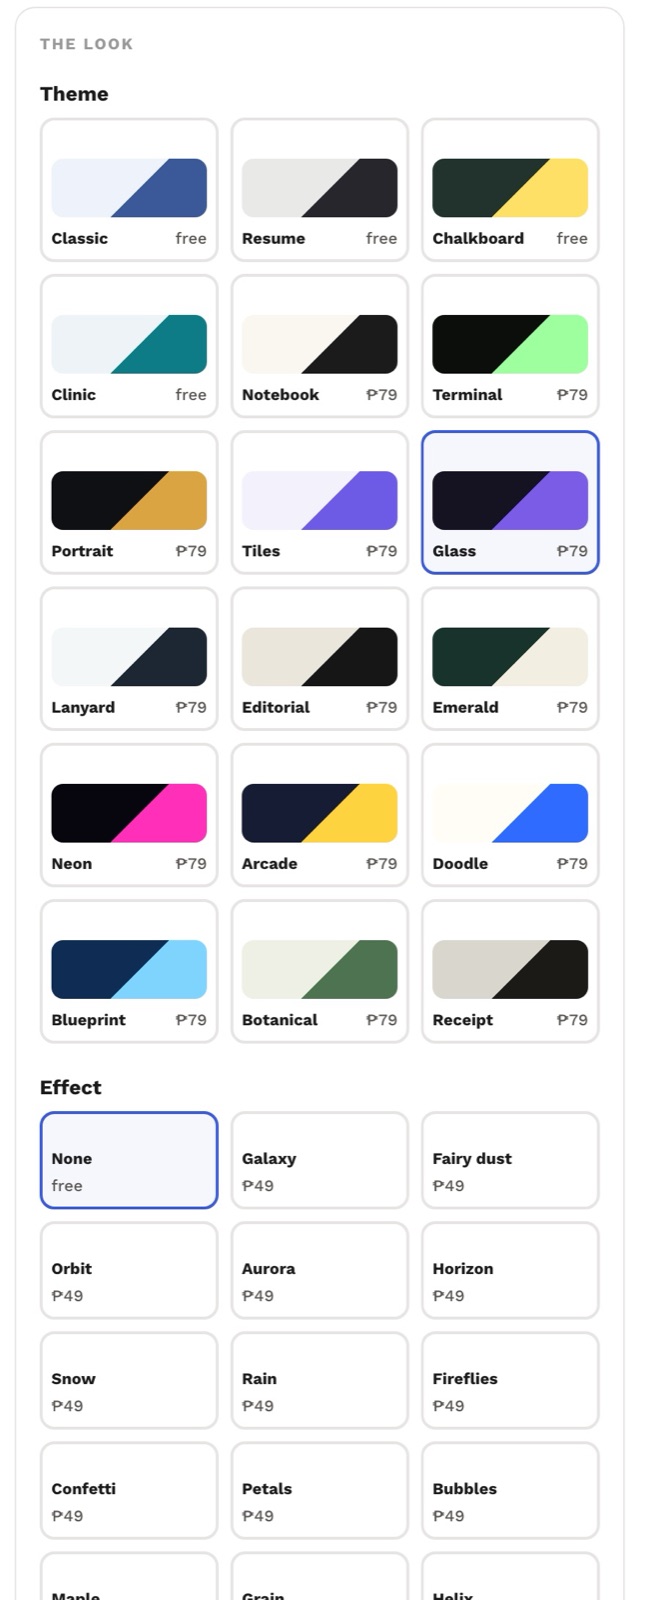
Try any of them. You only pay for the one you publish, once.
5. Publish
The Google sign-in happens here and nowhere earlier. It exists for one reason: to prove the page is yours, so nobody can take it from you later. A second after that, the page is live at your address.
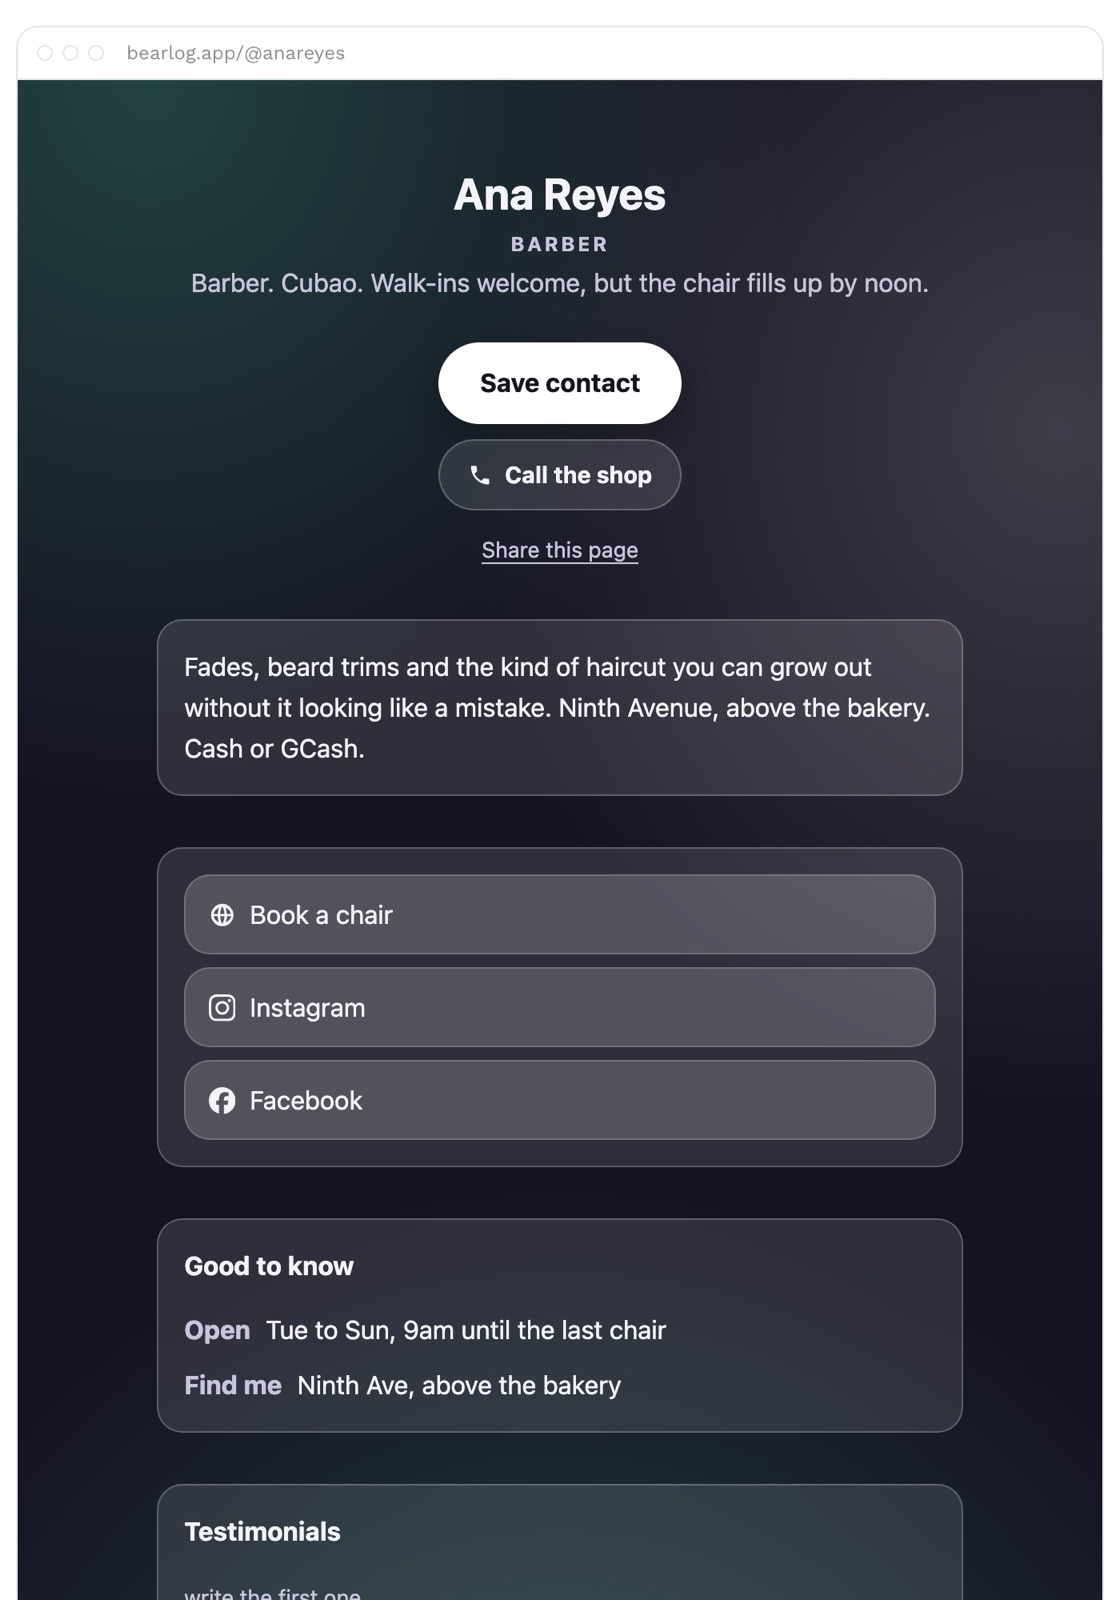
The preview is the page. Same HTML, links switched off so the pane cannot navigate away from what you are editing.
6. What the other person gets
They open the link, tap Save contact, and your name and number are in their phone. Nothing to install on either side. Every page carries its own scannable code, so you can be added by someone across a table without saying a word.
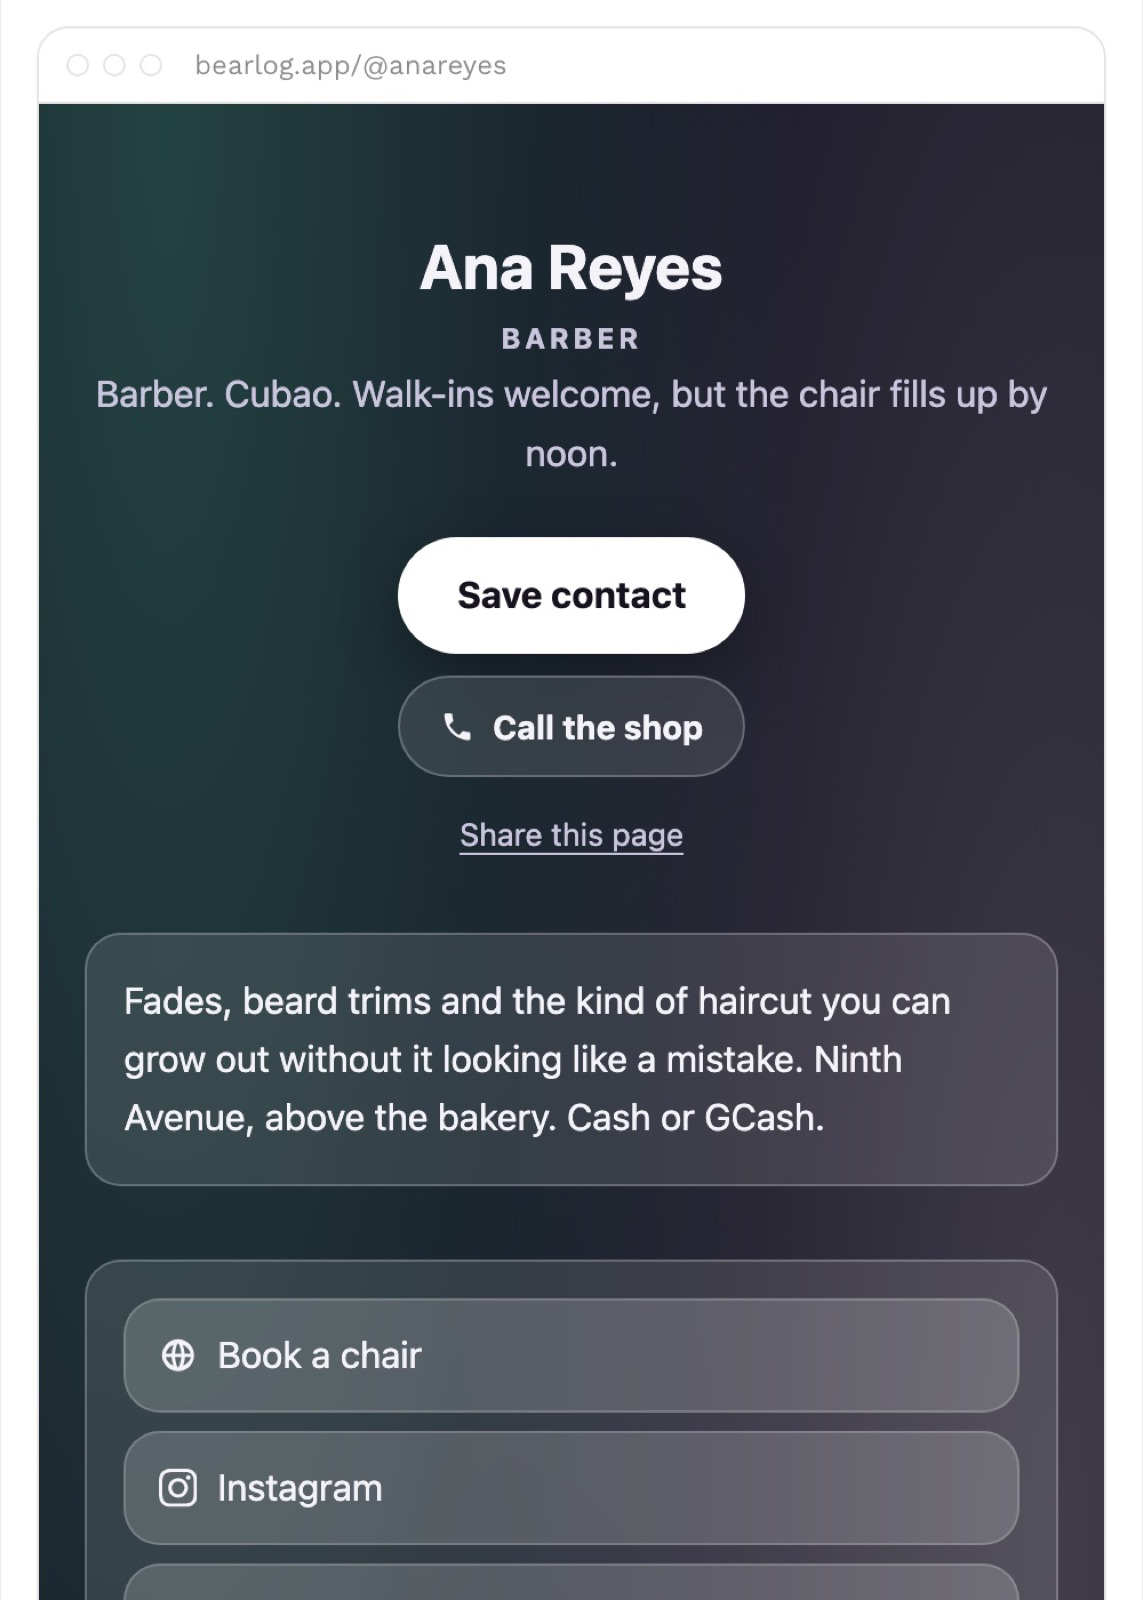
Save contact is free and always will be. So is Good to know.
Change your links, your look or your number later and the address stays the same. That matters more than it sounds: it is the reason a printed card can outlive the job you had when you ordered it.